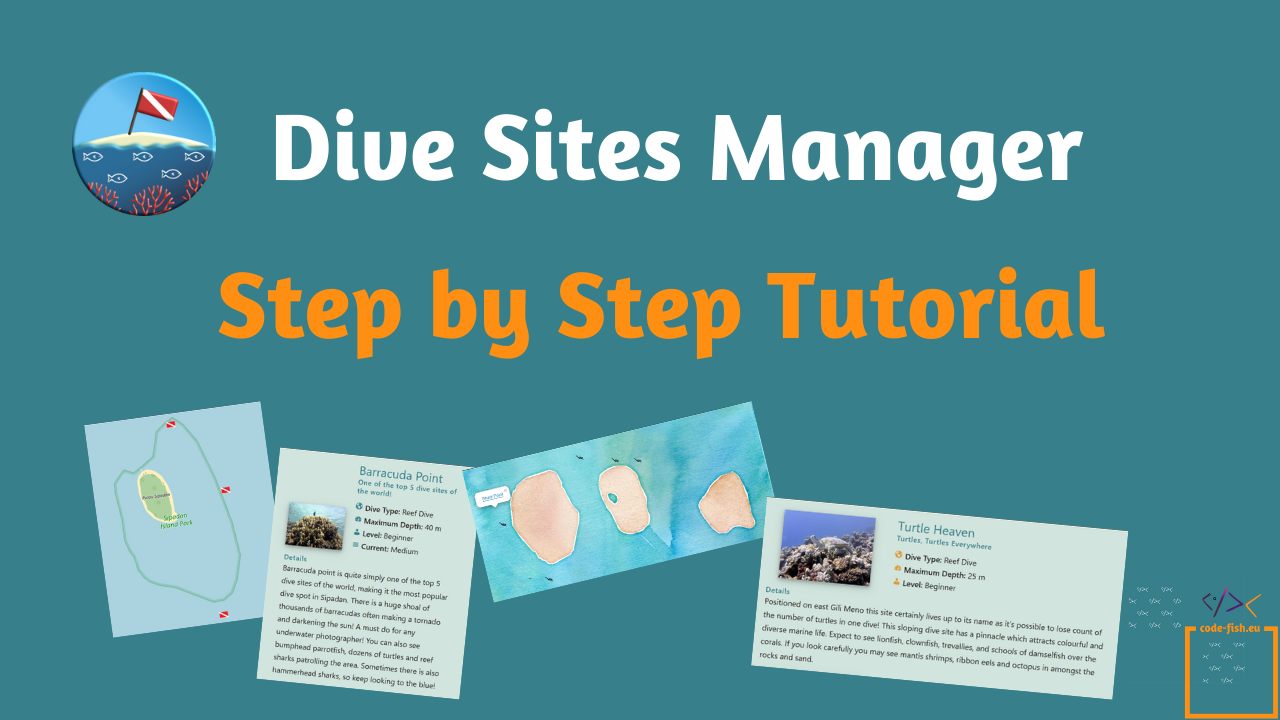
Ready to get the latest version of Dive Sites Manager!
I will show you how to install and configure the plugin to get a map with your dive sites and a grid with the information, picture, description for those dive sites.
Installation
The plugin is available in the official WordPress repository.
Or it can be installed directly from WordPress admin area.
Go to Plugins → Add New
In the search area look for Dive Sites Manager
Click on Install Now and Activate the plugin
In the admin area menu you find now two new entries:
Dive Sites, where you can add the dive sites and locations and Dive Sites Manager, where you will find the configuration options.
Clicking on Dive Sites Manager or on Dashboard you will have access to the main configuration area. Here you are able to activate an deactivate some of the functionality of the plugin. This will increase performance in case that you don’t need some functionality
In order to activate the Maps Manager you need to install and activate the Leaflet Map plugin.
If the plugin is not installed and active in the server, you will see the following error when trying to save the settings and the option will be automatically deactivated.
Dive Sites Characteristics
With Dive Sites Manager you can define which characteristics you want display in your dive sites. For example:
By default there are four characteristics: dive type, maximum depth, level and current.
To change the number of characteristics, names or icons go to Dive Sites Manager → Dive Sites Characteristics
NOTE. When you change the number you will need to save before you can see the list changed.
Locations
If the Locations Manager is active in the dashboard, you will see the entry Locations in the Dive Sites menu.
To add your locations click on Locations and create them giving a name and description (optional)
If the map manager is active you will see a map for each location. This map represents the area for that location. You can move it and zoom in and out to adjust it.
It might help during the configuration to select the standard background for the map, as it shows the names.
For example, for the location Sipadan we will adjust the map to this:
Dive Sites
In the Dive Sites menu you can add and manage your dive sites.
To add your dive sites go to Dive Sites → Add New each dive site contains this information:
- Name
- Description
- Location.
- Featured Image. Choose an image of your media library
- Excerpt. This is a tagline for your site (optional)
According to the characteristics configured there will be a list like the following to give values to those characteristics. The ones that are left empty will not be displayed.
If the Map Manager is active in the Dashboard at the bottom of the screen you will find a map with a pin. It is possible to move the map, zoom, and drag the pin to set the exact location for the dive site
you are adding.

Take a look at our latest designs and tools
Map Configuration
In the administrator area of your website you can configure the options for your diving maps.
Go to Dive Sites Manager -> Map Configuration
- If you don’t see this option in the menu it means the the Map Manager hasn’t been activates. Note that in order to run the Map Manager you need to have the Leaflet Map plugin installed and active on your server. Once the plugin is installed and active you can activate the Map Manager from the Dashboard (Dive Sites Manager -> Dashboard)
It is possible to change the dimensions of the maps adjusting the height and width. The width is proportional to the screen width and the height will be set in pixels
The icons marking the dive sites in the map can be personalized. Upload your own icons in PNG format
If Allow Zoom is selected, it will allow the users to zoom in and out tin the maps
Additionally, you can change the style of the map choosing between a standard background and a watercolor background.
Using the Shortcodes
To display your maps and your dive sites on your web pages we use shortcodes.
In Dashboard -> Tab Documentation you will find a list of the shortcodes and attributes that are available
Here is an example of a page where we added a shortocode to display a diving map if the location Sipadan, as well as a shortcode to display the dive sites information of the same location
Dive Sites Display Format
The layout of the dive sites depends largely on the WordPress Theme that you are using but there are some options that can be configured.
Total width give us the possibility to adjust the width of the whole block of dive sites proportionally to the width of the screen. For instance, 100% will display the dive sites in full width as any lower value will create some space on the sides.
With Dive Sites Manager we provide three different layouts to display the dive sites.
It is also possible to define in how many columns the dive sites will be shown. This option doesn’t have any effect for small devices, where it will be always shown in one column.
It might happen that in some cases the pictures of the dive sites are displayed in a very large size. For example if you choose the vertical layout in one column. For this we have added the configuration option Max Width for the images, where you can scale the pictures to a smaller size.
Video Tutorial
I hope you this guide helps you to add your dive sites to your website. Let us know if you still have any question.


